One of the wonderful things about my job is I never know quite what I’m going to learn from day to day, but almost every time I go out looking at an interesting story I learn something else odd, usually totally unrelated and almost always totally useless to me. But that’s half the fun of it. The other half is finding out, years down the road and without warning, that that strange thing I learned somewhere between idiocy and insanity is going to be worth its weight in several kinds of survival skills.
So in the middle of the San Jacinto Battle Reenactment, it turns out that today’s lesson was “how to make a baggywrinkle.”
This lesson was quickly followed by lesson 2: “What in the name of all that’s unholy is a baggywrinkle?” and lesson 3: “Why would you want a baggywrinkle and what do you DO with it when you’ve got it?”
(Generic apology in advance: “Nautical” is a separate language from English, and it’s fiercely defended by those who speak it well. I don’t speak it at all, so when I get it wrong there’s no malice involved. If I blow it intolerably, drop me an email (or leave a note in the comments) and I’ll be more than happy to correct the post…)
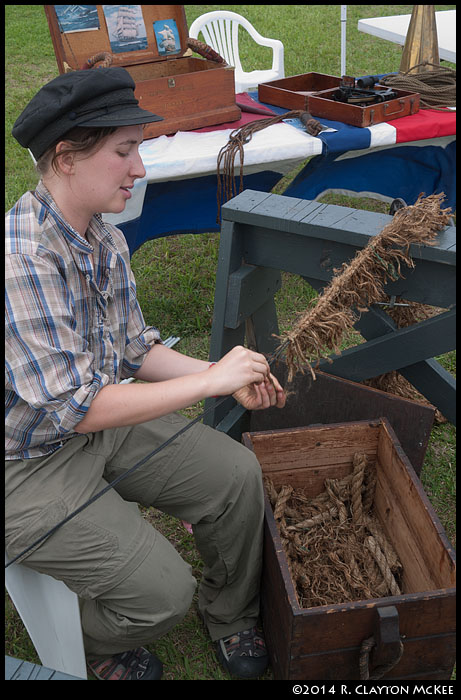
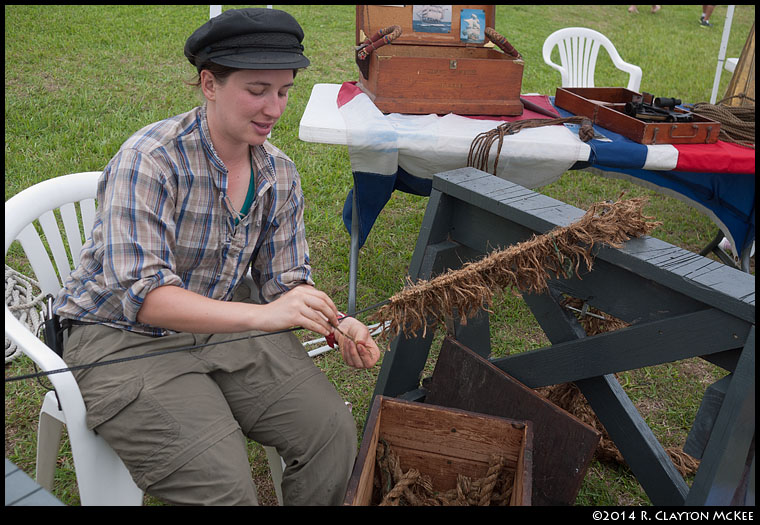
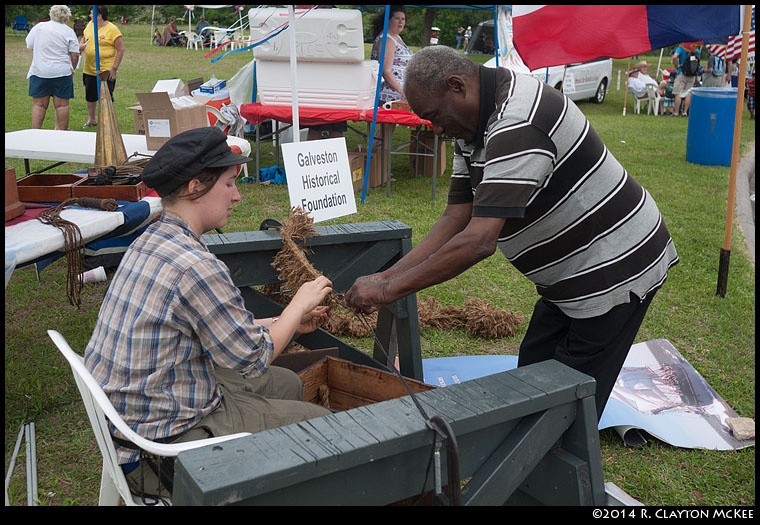
Lesson 1 is the easy part. Lessons 2 and 3 aren’t much harder but they are sort of interesting, so we’ll get to them first. According to Rachael, a “baggywrinkle” is anti-chafing gear… It’s a strange fluffy thing you wrap around the mast stays (which in a ship like the Elissa are probably steel cable) where they come into contact with the face of a sail. See, if you don’t have baggywrinkles on your cable, the sail will press against the cable and vibrate, which will wear a thin spot in the fabric of the sail along the pressure line. That’s a bad thing because come a hard blow the sail might well tear or split at that weak spot. This does several things, possibly, and not one of them is good.
So, lesson 1. Rachael showed me that you make a baggywrinkle by cutting a worn line (recycling, we call this) into pieces a few inches to a foot long (Look in the box) and then splitting those down into the component strands of the rope (called “yarns”). Then you stretch two lengths of fairly thin tarred cord, or marlines, and loop a piece of yarn around and between them, and then pull it tight and snug it down against the previous yarn. And then you do this again, again, and again and again until you have a very long bit of baggywrinkle, which looks like a VERY fuzzy rope. Then, when you run your lines, when you see where the sheet will press against the line, you wrap the baggywrinkle around and around the line and pull it tight, which causes the yarns to stand out away from the line, and that makes the rub patch big and soft. That way it won’t wear on the sheet and, you hope, your sails don’t split.
It’s actually very simple to do.
Teaching isn’t too hard, either.
I did actually take the opportunity to bend a couple of yarns onto the marline because the opportunity was there… and someday I’m sure that’ll be useful knowledge.
Just don’t ask me when or what for. I don’t know that.
One Response to Lessons part 1